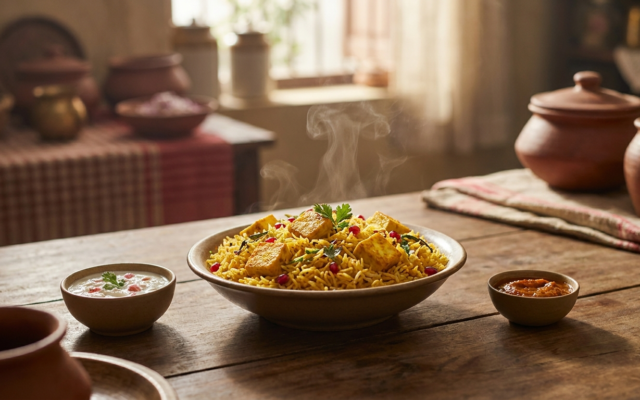
Paneer is the heartbeat of Indian vegetarian cuisine, transforming from a simple curdled milk product into the star of high-end restaurant menus and humble home kitchens alike. Mastering the art of preparing this versatile cheese at home allows you to control the texture, fat content, and freshness of every meal you serve.
Key Takeaways
- Achieving restaurant-style texture depends on precise temperature control during the curdling process.
- You can create authentic dishes like Paneer Butter Masala using a standard stovetop setup.
- Understanding the science of milk coagulation is vital for a soft, non-rubbery final product.
- Marathi-speaking households often favor specific tempering techniques that elevate basic recipes.
The Science of Perfect Homemade Paneer
To make truly authentic paneer, you must start with the quality of your milk. Whether you are in a bustling suburb like Andheri in Mumbai or a quiet locality in Pune, sourcing full-fat buffalo milk remains the gold standard for yield and creaminess. The Food Safety and Standards Authority of India provides guidelines on milk quality that ensure your base ingredient is safe and suitable for coagulation.
When you heat the milk, aim for a gentle simmer rather than a rolling boil. Once it reaches the appropriate temperature, introduce your acidic agent—lemon juice or vinegar—slowly while stirring continuously. This ensures the curd forms in small, uniform particles. Did you know that the specific mineral content of the water in your local area can actually affect how quickly your milk curdles? It is a fascinating bit of chemistry that home cooks often overlook.
Essential Techniques for a Soft Texture
The biggest complaint home cooks have is that their homemade paneer turns out rubbery or tough. The secret lies in how you handle the curdled mass after it separates from the whey. Once you see the greenish-yellow liquid separate, stop heating immediately and plunge the pot into an ice bath to arrest the cooking process. This simple step prevents the protein fibers from tightening further.
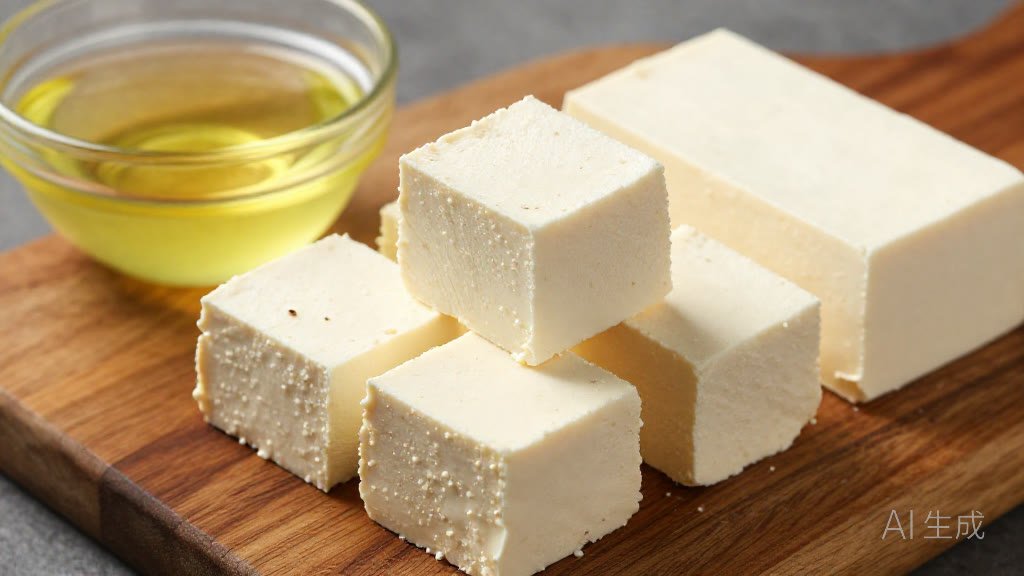
After straining the curds through a muslin cloth, you must press the paneer for exactly the right amount of time. If you press it too hard or for too long, you squeeze out all the moisture, resulting in a brick-like texture. For a soft, melt-in-the-mouth consistency, a gentle press under a heavy plate for thirty minutes is usually sufficient. Keep the paneer submerged in cold, filtered water if you aren’t using it immediately, as this preserves its shape and hydration.
Authentic Marathi-Style Paneer Preparations
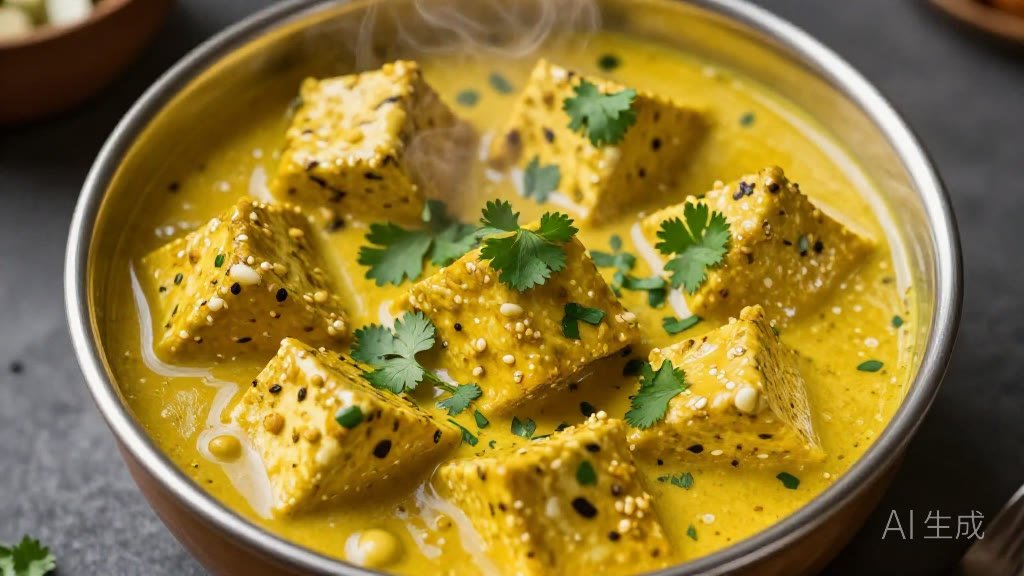
In Maharashtra, the local palate often leans towards bolder, nuttier flavors in gravy-based dishes. Preparing a paneer curry, or what many might refer to as paneer chi bhaji, often involves a base of fried onions, ginger-garlic paste, and a unique blend of roasted coconut and poppy seeds. This technique, commonly known as vatap, adds a depth of flavor that is distinct from the tomato-heavy gravies found in Northern India.
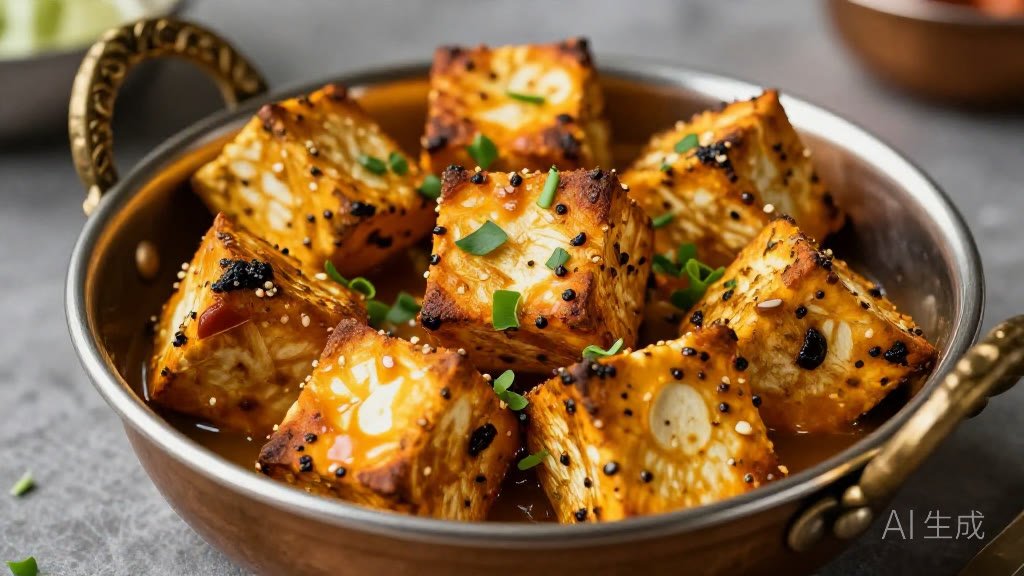
When preparing these dishes, ensure your paneer is lightly sautéed in a pan with a pinch of turmeric and chili powder before adding it to the gravy. This step creates a thin, golden crust that helps the paneer absorb the flavors of the masala without disintegrating. You can find detailed nutritional information and preparation tips through resources like the National Institute of Nutrition to better understand the protein density of your home-cooked meals.
Comparing Popular Paneer Dishes
Whether you are planning a weekend feast or a quick weeknight dinner, choosing the right dish depends on the time you have available. The table below outlines the preparation profiles for three classic styles that you can easily replicate at home.
| Dish Name | Complexity | Primary Flavor Profile | Cooking Time |
|---|---|---|---|
| Paneer Butter Masala | Medium | Sweet, creamy, tomato-based | 45 Minutes |
| Palak Paneer | Medium | Earthy, savory, spinach-heavy | 40 Minutes |
| Matar Paneer | Easy | Spiced, onion-tomato, garden fresh | 30 Minutes |
The Importance of Fresh Ingredients
The beauty of cooking at home is the ability to bypass the preservatives found in store-bought, vacuum-packed paneer. When you make your own, you are essentially creating a clean-label food product. Consider the spices you use; freshly ground coriander and cumin seeds provide an aromatic impact that pre-packaged powders simply cannot match. A surprising fact is that store-bought paneer is often treated with shelf-stabilizing agents that alter its pH, which is why it never quite tastes as rich as the fresh variety.
Always use a high-quality muslin or cheesecloth that has been thoroughly cleaned and sanitized. If you find your paneer has a slight vinegary aftertaste, it means you used too much acid during the coagulation step. Simply rinse the curdled paneer under cold running water for an extra minute to wash away the excess acidity. This small adjustment makes a world of difference in the final taste of your paneer bhurji or tikka.
Storage and Preservation Best Practices
If you have made a large batch of paneer, proper storage is essential to maintain freshness. Keep the blocks in an airtight container filled with cold water, and change the water daily to prevent the paneer from turning sour. In the humid climate of India, keep this container in the coldest part of your refrigerator, away from the door. You can safely store fresh paneer for up to three days using this method.
The secret to restaurant-quality paneer isn’t a secret ingredient; it is the patience you exercise when straining the curds and the precision with which you manage the heat during the final simmer.
If you must freeze the paneer for long-term use, slice it into cubes first. Blanch the cubes in hot water for thirty seconds before patting them dry and placing them in a freezer-safe bag. While freezing does alter the texture slightly, making it a bit more porous, it is an excellent way to keep your protein supply ready for those busy evenings when cooking from scratch isn’t an option.
Frequently Asked Questions
Why does my homemade paneer turn out hard?
Hardness usually occurs due to over-pressing or over-boiling the milk. Ensure you press the paneer for no more than thirty minutes and remove the milk from the heat the moment it begins to curdle.
Can I use skimmed milk to make paneer?
While you can use skimmed milk, the yield will be significantly lower and the texture will be quite dry. For the best, most authentic results, always opt for full-fat milk.
How do I know if the paneer has gone bad?
Fresh paneer should have a neutral, milky aroma. If you notice a sour or pungent smell, a slimy surface texture, or any visible discoloration, it is best to discard it immediately for food safety reasons.
What is the best way to reheat paneer dishes?
The best way to reheat is on the stovetop over low heat with a splash of water or milk. Avoid high heat or microwave reheating, as these methods can cause the paneer to become rubbery and tough.